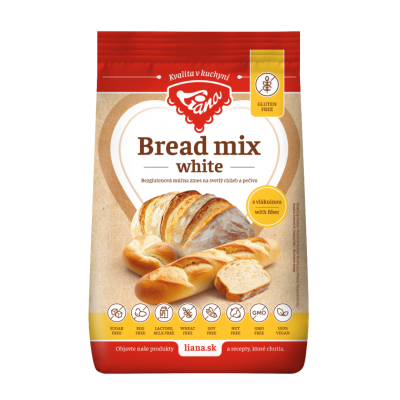
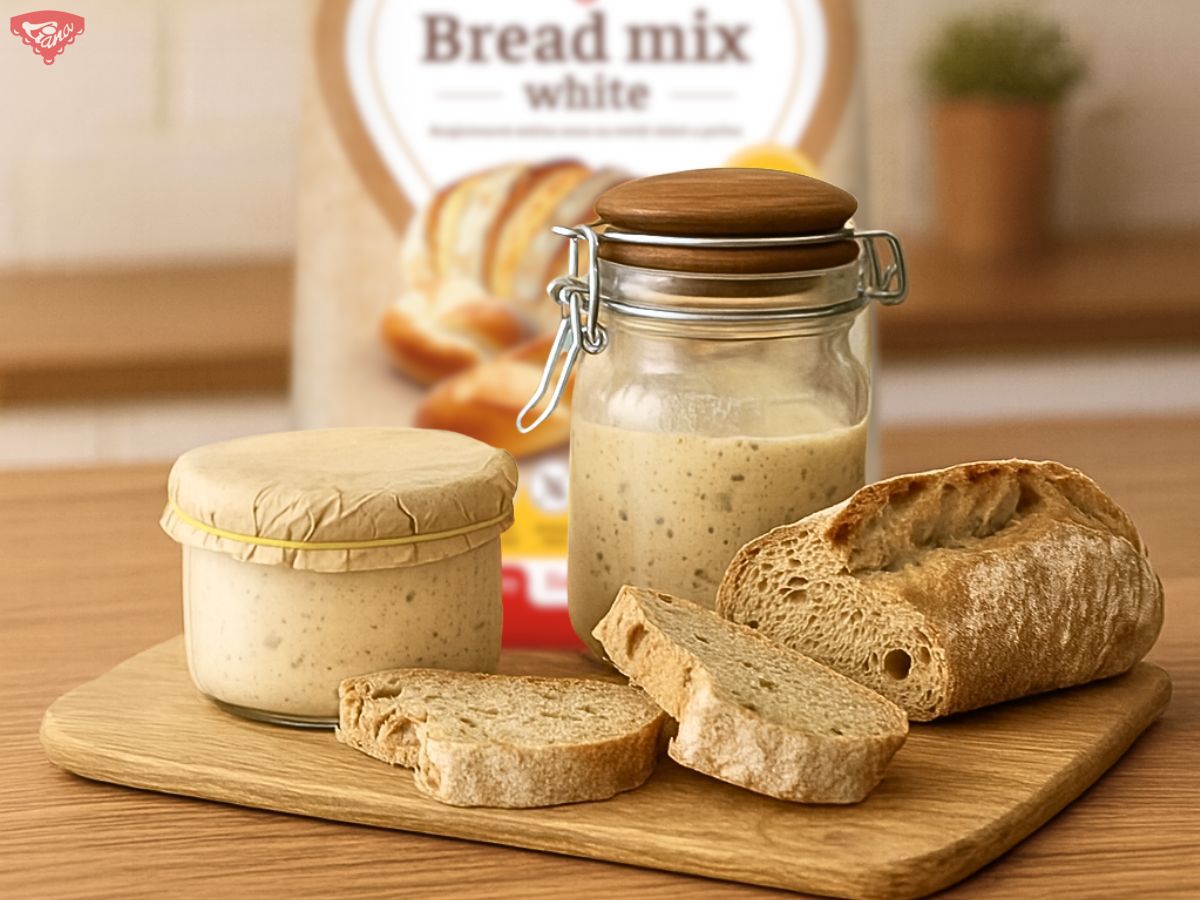
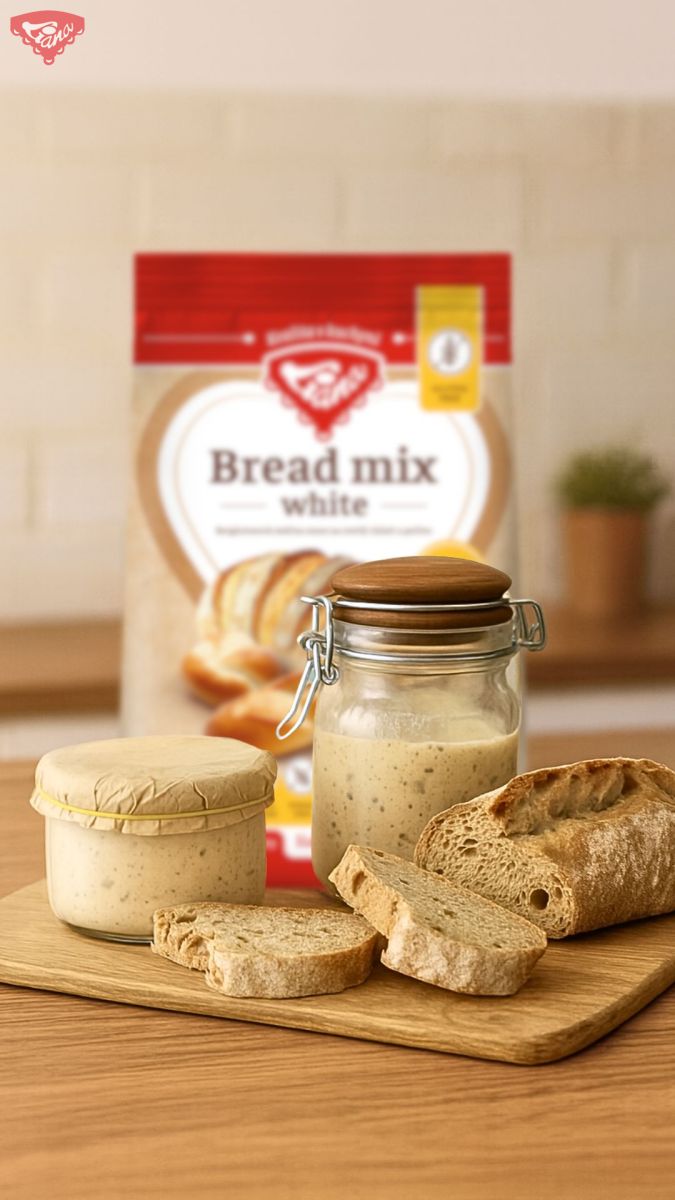
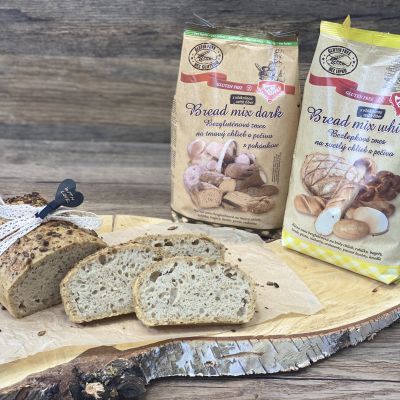
Gluten-free sourdough starter from Liana Bread Mix White
 Tatiana
Day 1
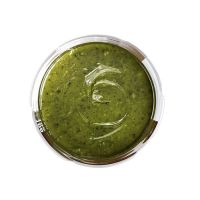
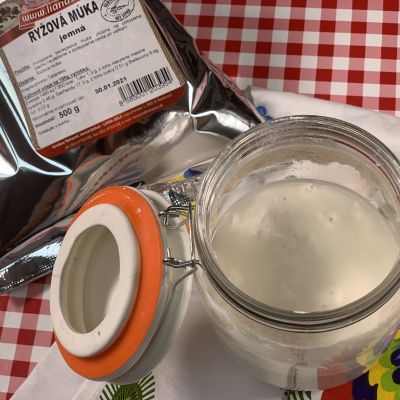
In a perfectly clean glass jar, pour 2 tablespoons of flour and add about 4-6 tablespoons of water to make the mixture the consistency of pancake batter. Cover the jar with a lid (do not seal it) and let the sourdough stand at room temperature - for example, on the kitchen counter or on a shelf. This step is the basis for the formation of active gluten-free sourdough , which we will later use to bake homemade gluten-free bread .
Days 2–7
Every day, add 1 tablespoon of flour and about 2 tablespoons of water to the yeast, mix and let it rest again. Repeat this process every 12 or 24 hours - 12-hour intervals have worked well for us.
We never touch the sourdough with our hands, we always use 100% clean tools to add it so as not to spoil it with unwanted bacteria. After a few days, we will start to smell a pleasant sour smell, reminiscent of pizza dough - that's when we know that our gluten-free sourdough is working properly.
After 7 days
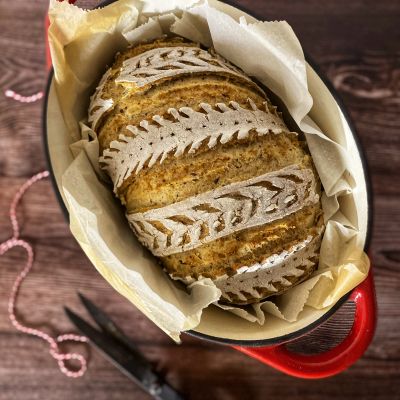
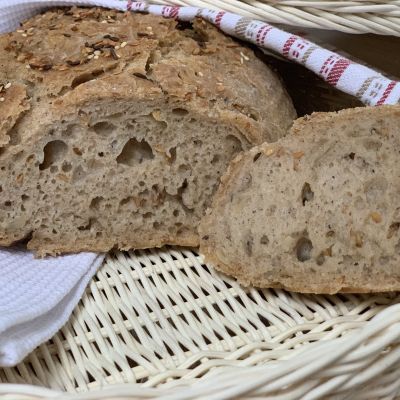
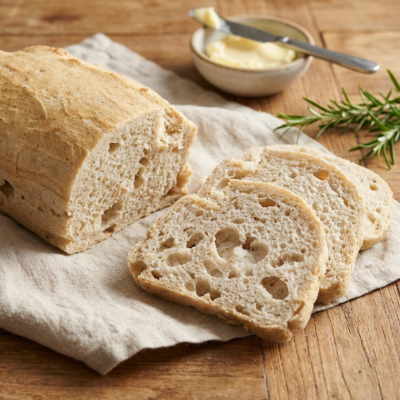
Seal the sourdough tightly and place it in the refrigerator. It will last for several weeks in the refrigerator – just “feed” it occasionally. The gluten-free sourdough prepared in this way can be used as a base for various types of homemade gluten-free sweet and savory pastries.
If mold appears on the surface, let's start again with completely clean equipment.
It worked out well for us to have one dedicated spoon and dish sponge just for the yeast – from then on it went like clockwork. All it takes is a little patience and of course a lot of love. ❤️
Prihláste sa, ak chcete pridať hodnotenie.
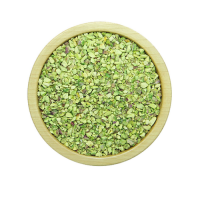
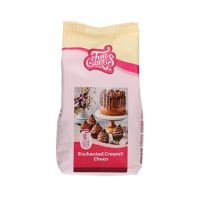
- Liana Bread mix White
- Water (room temperature)
Nakúpiť Liana produkty z receptu
 Tip od Vás
Products to recipe